Unknown
4:02 PM
0 Comments
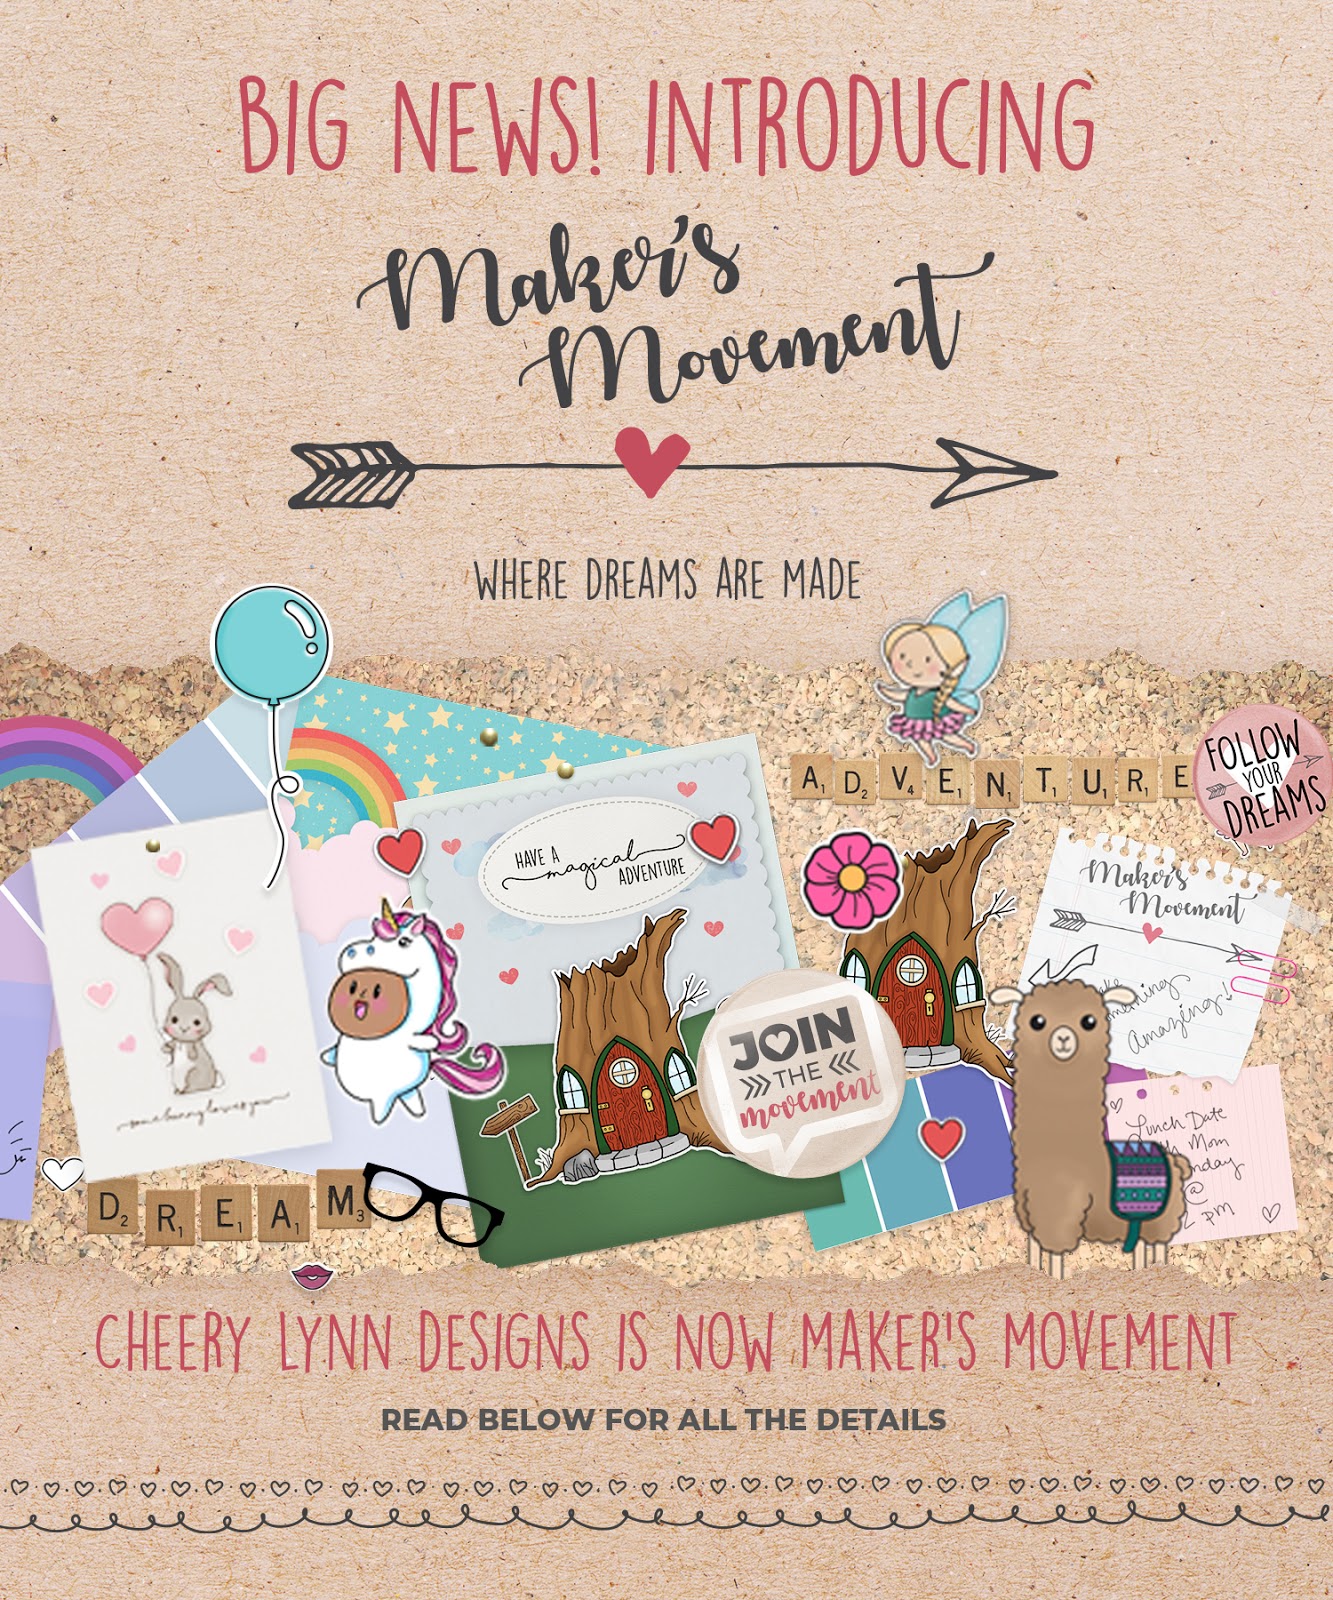
How's this for Big News?! It's happening and we're so excited to share this with you! Cheery Lynn Designs is now Maker's Movement. With that said, you'll still be able to find your favorite Cheery Lynn Designs on Amazon, and a select number of them on our newest website.
Take a peek at our new release of products, including a variety of stamp and die sets that are just too darling to resist! Visit www.mymakersmovement.com to shop and dive into the start of your newest creative adventure. It doesn't end here! Be on the look out more information regarding new products and creative resources in the next weeks and months to come.
Follow Us! Maker's Movement can be found on all of the social media channels, including makersmovementlove, where you can feast your eyes on the latest projects our makers have crafted up. You won't want to miss out on the big items headed your way!
Join the Movement! Visit www.mymakersmovement.com for all the inspiration and creative goodies that will change your creative world. Our hopes are that you're just as excited as we are, and we're thrilled to be a part of your next creative endeavor.
We are here to help you, if there's any questions don't hesitate to reach out. Drop us a line or give us a ring. We'd be delighted to hear from you, ENJOY!