As always, the entries we had last week for our Anything Goes challenge were wonderful.
Thank you to all who entered, we enjoy seeing your creations with our
dies. This week our challenge at Cheery Lynn Designs is
Red, White and Blue
Here are the rules:
- You MUST follow the theme and use at least one Cheery Lynn Designs die, of course, we would love to see more than one.
- You MUST add a link to your blog post in the InLinkz at the end of this post; no back posting, only new projects are allowed
- You MUST link to this challenge in your blog post or on your gallery post
- You may only enter the challenge ONCE per week.
The winner will be chosen randomly. They
will receive $20 towards shopping at the Cheery Lynn website. The
challenge will end on Saturday night at 18:00 Eastern time. And now to our
inspiration for today (for details on each project, click on the
designer's name and it will take you to their blog)
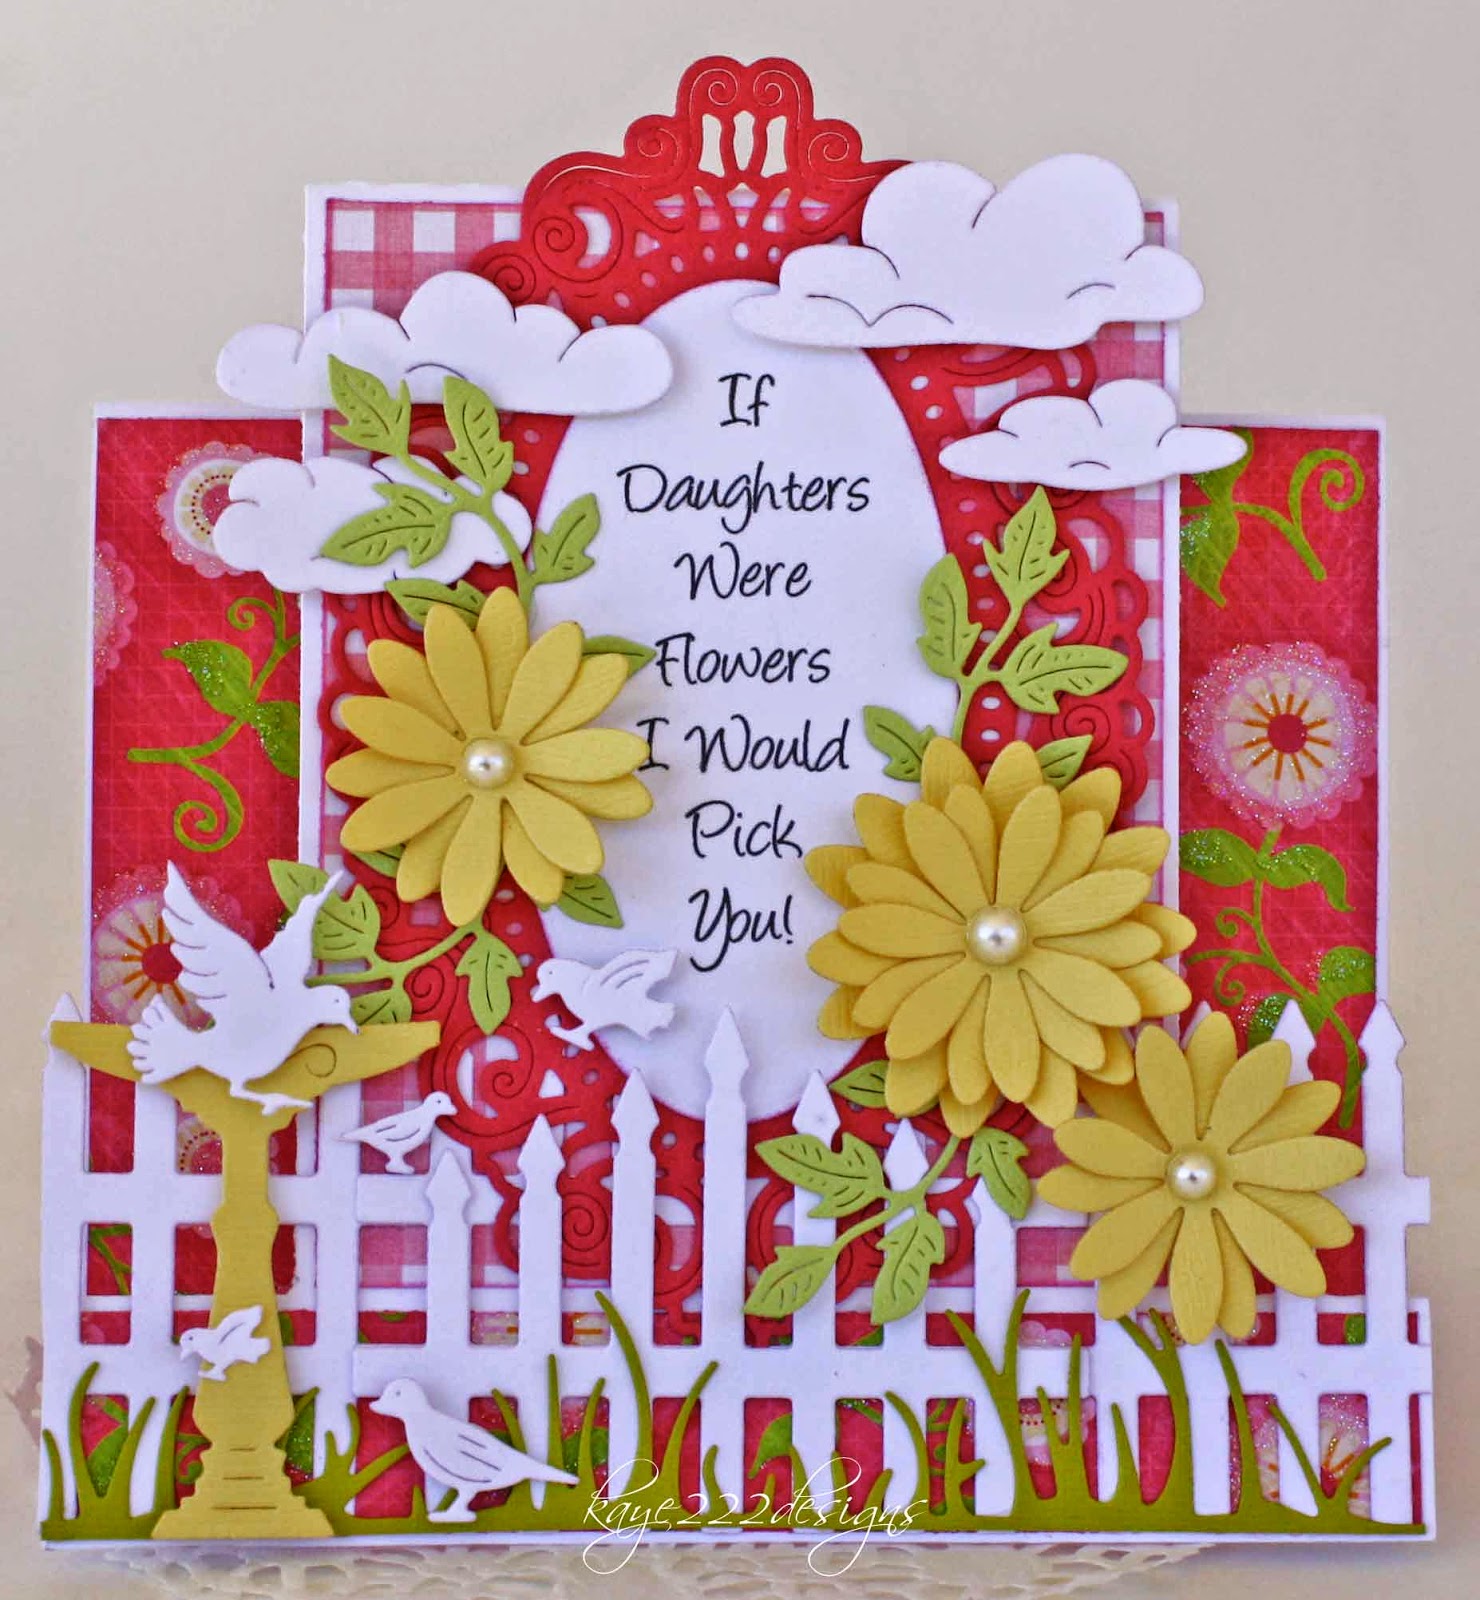
Debbie Brownmiller
Debbie Brownmiller
Dies used:
Scalloped French Flair Stacker, Dutch Daisy Square Doily,
Diamonds and Starburst Embossing Plate, Page Tabs
Scalloped French Flair Stacker, Dutch Daisy Square Doily,
Diamonds and Starburst Embossing Plate, Page Tabs

Dies used:

Remember, you MUST use a Cheery Lynn Designs die to enter this challenge.


.JPG)